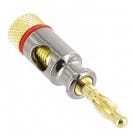
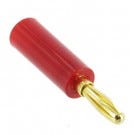
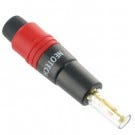
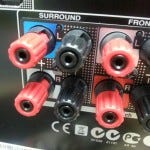
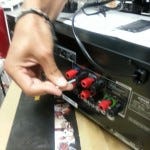
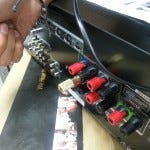
Here’s how it’s done. 1. Within your speaker wire there is a positive (red) and a negative (black) wire. To access these, you will need to use a cable stripper to remove the protective sheath approximately 2-3 cm from the end. 2. Once you have exposed the red & black cables, you will then need to strip approximately 1cm of cable sheath from these also. This will expose the pure copper wire beneath. 3. Then twist each of these sets of small copper wire together clockwise, ensuring there are no stray wires poking out. 4. Remove the back of the banana plug by unscrewing it counter-clockwise. 5. Insert the positive (red) wire into the top section of the red marked banana plug. Secure by replacing the base of the banana plug, screwing it back firmly, ensuring a good connection. Some banana plugs also have small screws, which are loosened to insert the cable, and must be tightened again to secure the cable. 6. Insert the negative (black) wire into the black marked banana plug. Sometimes these may also be white or blue, but keep in mind that red is always positive, and the remaining plug will be negative. If this is not done correctly, your speakers will be out of phase, and produce poor sound. Secure in the plug, by screwing the base back together with the top. You have now successfully attached your speaker cable to your banana plugs, and can easily insert and remove them when needed. Check out the images below which illustrate where to connect your banana plug to your receiver. If you have terminals that look like this, you will be able to use banana plugs.
Within each of the red and black terminals, is a small black protector. You will need to remove this using a small flat end screw, by simply
twisting it out.
Now you can insert your banana plug into your terminal. (Of course you will need to wire it up first - see instructions above)

